skip to main |
skip to sidebar
FIAT TOPOLINO FIBERGLASS PARTS
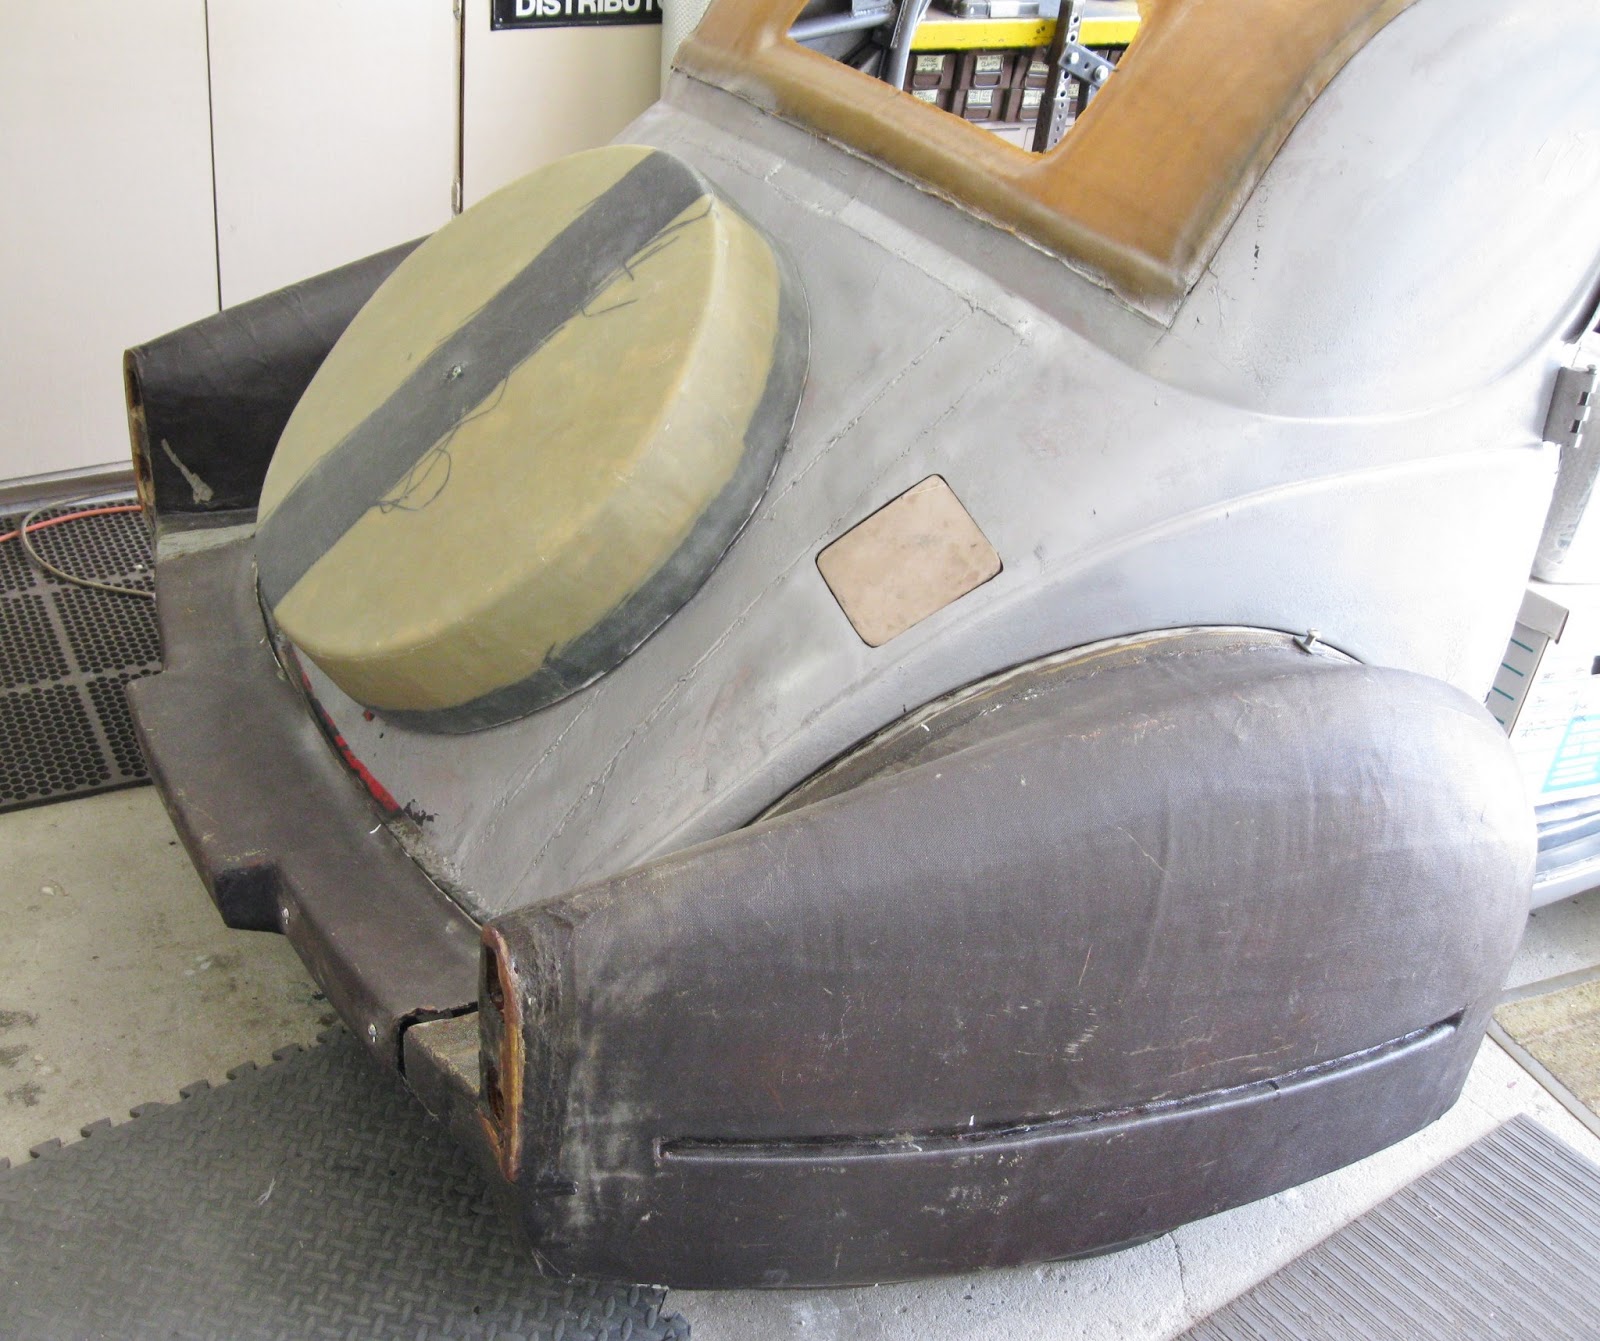
Time for more fiberglass fun on MR T, my 1937 FIAT Topolino Cabrio....In this photo I have the back fenders mounted [and each held in place by two bolts] and the valence between the fenders at bumper level in place. Now it's time to build the spare tire cover. If you look closely you can see a fiberglass ring around the spare tire, right at the body surface. I laid up the ring first to get a nice "fit" to the body of the car, which is really a compound curve in that area.
I attached a 0.375" center pin to a mounting structure that will hold the pin exactly centered and vertical. You can see the mounting structure attached to the ring. The shaped board [light color, top right] can spin around and will cut the foam [see next photos] to get an even shape for the spare tire cover.
I used urethane foam [of the type used in constructing composite aircraft] to make the basic form of the cover. Here the foam--mounted to the ring--is ready for carving to the final shape of the cover. [You can see MR T behind the table].
There is always some rough--but careful--cutting to be done before the spin cutter is used. That's what I'm doing in this photo, using a "Sureform" rough file for the job. The action here is to rough file a pit, then check it with the spin, which you can see mounted to the center pin in the photo above. The spin arm makes the final, fine cut of the foam.
The foam shape is done. The check template shows a good "fit", all around what is essentially a male mould for the cover. Time to lay on fiberglass cloth now.
AHA! It's laid up! I laid on seven plies of aircraft bi-directional cloth, directly to the foam mould. Five plies are of 8-ounce cloth, the final two plies are 4-ounce cloth. The dark band is of 8-ounce bi-directional GRAPHITE cloth, to give extra strength on one side for the hinge, and opposite, the latch. You can see a band of graphite around the base, at the junction of the new cloth and the original 'glass ring. I give the lay-up a minimum of 24 hours to complete the cure of the aircraft epoxy that I used. I used NO polyester resin on ANY part I made up for this car. Epoxy resin makes a lay-up at least twice as strong compared to using polyester resin. Two further benefits: This particular epoxy has almost no odor, and the working time is easily 20 minutes.

The new cover is cured, trimmed and setting in place on MR T. The fun stuff now is to mount the hinge [which will be centered on the LEFT] and build and install the latch mechanism [which will be centered on the RIGHT]. More on that in further adventures with MR T....


No comments:
Post a Comment
Note: Only a member of this blog may post a comment.