Showing posts with label restoration. Show all posts

Wednesday, February 15, 2012

EARLY WINDSHIELD WIPER MOTOR REBUILD

This is what the average 52 year-old Lucas wiper motor looks like, taken apart. Actually the main case [top, left] and the mount [center, top] have already been cleaned up, ready for paint. This sucker was STIFF and actually had to be carefully pressed apart. 52 years in a crusty old Saab will do that to you, I reckon....

The build date was "02-66", so I wasn't surprised to have to dig the old, dead grease out of the gears with dentist's torture tools. The armature [bottom center] was burned and I carefully turned it just a bit on my lathe. After that it was just a ton of clean-up, brush and spring replacement, greasing [with modern temperature-stable, non-hardening lubricants], and reassembly.

Above is the wiring diagram for this motor in a '68 Sonett V4. The schematic for the same motor in the same year Saab 95/96 is almost identical.

Here is the 52 year old motor, cleaned, reassembled, adjusted, tested, painted and ready to go to work for another 50+ years. Good stuff, Olaf!

Sunday, October 17, 2010

Saab 95 Restoration Progress: Trunk and Fuel Tank Floors

Trunk floors tend to suffer from demon rust on most Sonetts, 96s, and 95s, and this restoration project is no exception.

Fresh sheet metal in the fuel tank opening:


New trunk floor sheet metal:


Fuel tank floor in primer:


Trunk floor and surrounding area in primer:


Bottom of fuel tank floor in primer:


Trunk floor painted:

Saturday, October 16, 2010

Saab 95 Restoration Progress: Engine Bay

During my last trip up to Oregon a couple weeks ago, I stopped by the shop and visited with Mark. He;s thick in the middle of two restorations, one for this Saab 95 Wagon, and one for a Sonett III. The Wagon has proven particularly "fun" as there was extensive body rot throughout, as documented here.

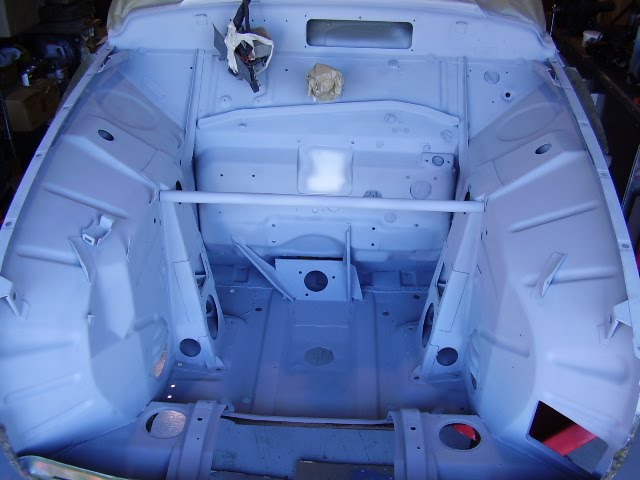
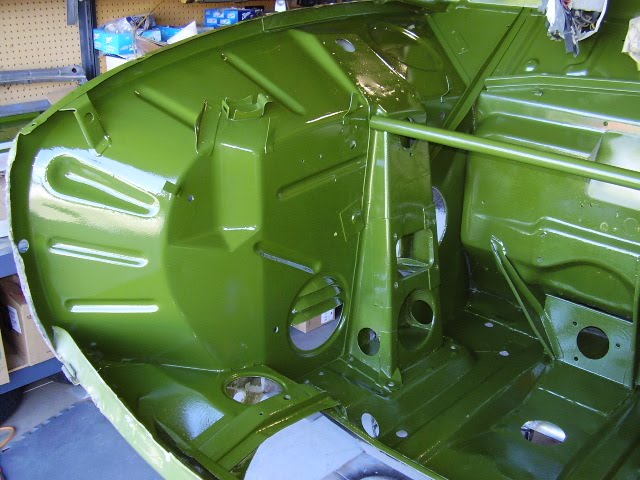
Mark has made great progress on this car, so I wanted to do a quick scrapbook of some of his work, starting in the engine bay.

Main engine bay cleaned up and primered:


And in paint, using the original paint code for this year:


Passenger side inner fender in primer:


And in body color:


Driver side in primer:


Driver side in paint:


One thing to notice in the above tow pictures is the rectangular access opening at the front of the inner fender. This wasn't stock. the owner of this particular car has thoughts of installing air conditioning, and this opening makes it possible to actually reach the AC belt tensioning device. Here are some pics of they created the opening.

The opening from inside the engine bay:


From inside the wheel well. An access panel was also built that will be easily removed with a few small bolts: